popcorn ceiling removal, also known as acoustic ceilings, were once a staple in many homes due to their sound-dampening qualities and ease of application. However, over time, these textured ceilings have fallen out of favor due to their dated look and tendency to collect dust and cobwebs. If you're looking to give your home a more modern, clean aesthetic, removing a popcorn ceiling is a great way to achieve that. Here’s a comprehensive guide to help you remove your popcorn ceiling like a pro.
Why Consider Removing Your Popcorn Ceiling?
There are a number of reasons why you might want to remove your popcorn ceiling:
Aesthetic Appeal: Popcorn ceilings can make a room feel smaller and darker. A smooth ceiling enhances the overall aesthetic of a room, making it look more open and contemporary.
Asbestos Concerns: Many older popcorn ceilings contain asbestos, which is a hazardous material linked to lung diseases. If your ceiling contains asbestos, removal should be handled carefully, either through professional services or by taking proper precautions.
Cleaning Difficulty: Popcorn ceilings are notorious for trapping dirt, dust, and cobwebs, which are difficult to clean. Once removed, a flat ceiling is much easier to maintain and clean.
Preparation: Essential Steps Before Removal
The process of removing a popcorn ceiling can be a bit messy, so proper preparation is key to ensuring a smooth project.
1. Test for Asbestos
If your home was built before the 1980s, there’s a chance the ceiling contains asbestos. Before you start removing the texture, it's crucial to test the ceiling. If asbestos is found, it’s best to hire a professional with expertise in asbestos abatement to safely handle the removal.
2. Clear the Room
Make sure the room is completely cleared of furniture or cover items with plastic sheeting. You’ll also want to protect the floor with drop cloths or plastic sheeting to catch falling debris. Remove any light fixtures, ceiling fans, and air vents as these could get in the way.
3. Gather the Right Tools
To ensure a successful removal, make sure you have the following tools on hand:
- Garden sprayer or spray bottle: To moisten the ceiling texture.
- Putty knife or drywall scraper: To scrape the popcorn texture off.
- Joint compound: To fill in imperfections and holes.
- Sanding tools: To smooth out the ceiling after scraping.
- Primer and ceiling paint: For finishing touches once the ceiling is smooth.
4. Wear Protective Gear
Popcorn ceiling removal can generate a lot of dust, so it's important to protect yourself. Wear a dust mask or respirator, goggles, and gloves while working to avoid inhaling dust and debris.
The Removal Process: Step-by-Step
Once you’ve prepared your space and gathered the necessary tools, follow these steps to remove the popcorn ceiling:
1. Soak the Ceiling
The popcorn texture needs to be softened to make removal easier. Lightly spray a section of the ceiling with water using your sprayer. Let it sit for 15 to 20 minutes, allowing the moisture to penetrate the texture. Do not over-saturate the ceiling as excess water can damage the drywall beneath.
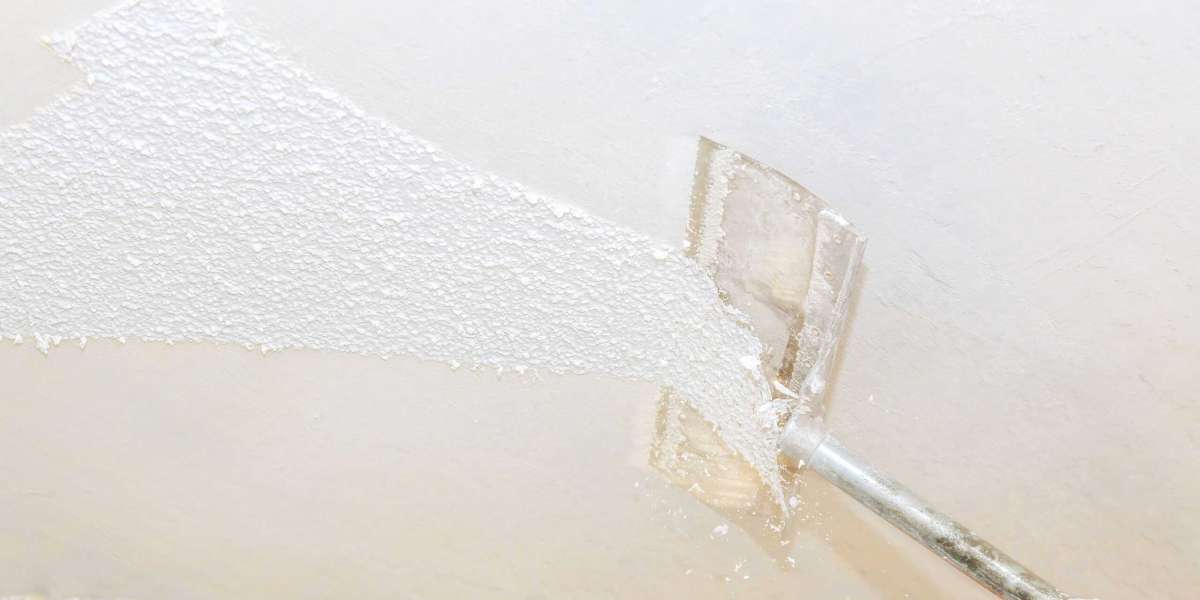
2. Scrape the Popcorn Texture
Using your drywall scraper or putty knife, gently scrape the popcorn texture off the ceiling. Work in small sections and be careful not to gouge the drywall. If the texture is difficult to remove, add more water and wait for a few more minutes before scraping again.
3. Fill Imperfections
Once the popcorn texture is removed, you may notice holes or imperfections in the ceiling. Use joint compound to fill these gaps. Apply it with a drywall knife, smooth it out, and allow it to dry.
4. Sand the Surface
After the joint compound has dried, sand the ceiling to create a smooth, even surface. Be sure to use a fine-grit sandpaper to avoid damaging the drywall.
5. Prime and Paint
Once the ceiling is smooth and free of imperfections, apply a coat of primer. Once the primer has dried, finish with two coats of ceiling paint for a fresh, clean look.
Should You Hire a Professional?
Removing a popcorn ceiling is a manageable DIY project for many homeowners. However, there are situations where hiring a professional might be a better option:
- Asbestos: If your ceiling contains asbestos, it’s best to hire an asbestos remediation professional.
- Time and Effort: If the project seems too overwhelming or time-consuming, professionals can handle the job efficiently.
- Advanced Finishes: If you’re planning on adding decorative elements to the ceiling, such as a new texture, a professional can help achieve the desired look.
Cost of Popcorn Ceiling Removal
The cost of removing a popcorn ceiling varies depending on factors such as the size of the room, the complexity of the project, and whether asbestos is present. If you choose to tackle the project yourself, the cost can range from $1 to $2 per square foot for materials. If you hire a professional, the cost can increase to $3 to $7 per square foot, especially if asbestos removal is involved.
Conclusion
Removing a popcorn ceiling is a great way to update the look of your home, increase its value, and improve its cleanliness. While it can be a bit time-consuming and messy, the result is a smooth, modern ceiling that is easier to maintain. Whether you decide to do it yourself or hire a professional, removing the popcorn texture will give your home a fresh, updated look.